Mokhaiotl delve
Delve boss
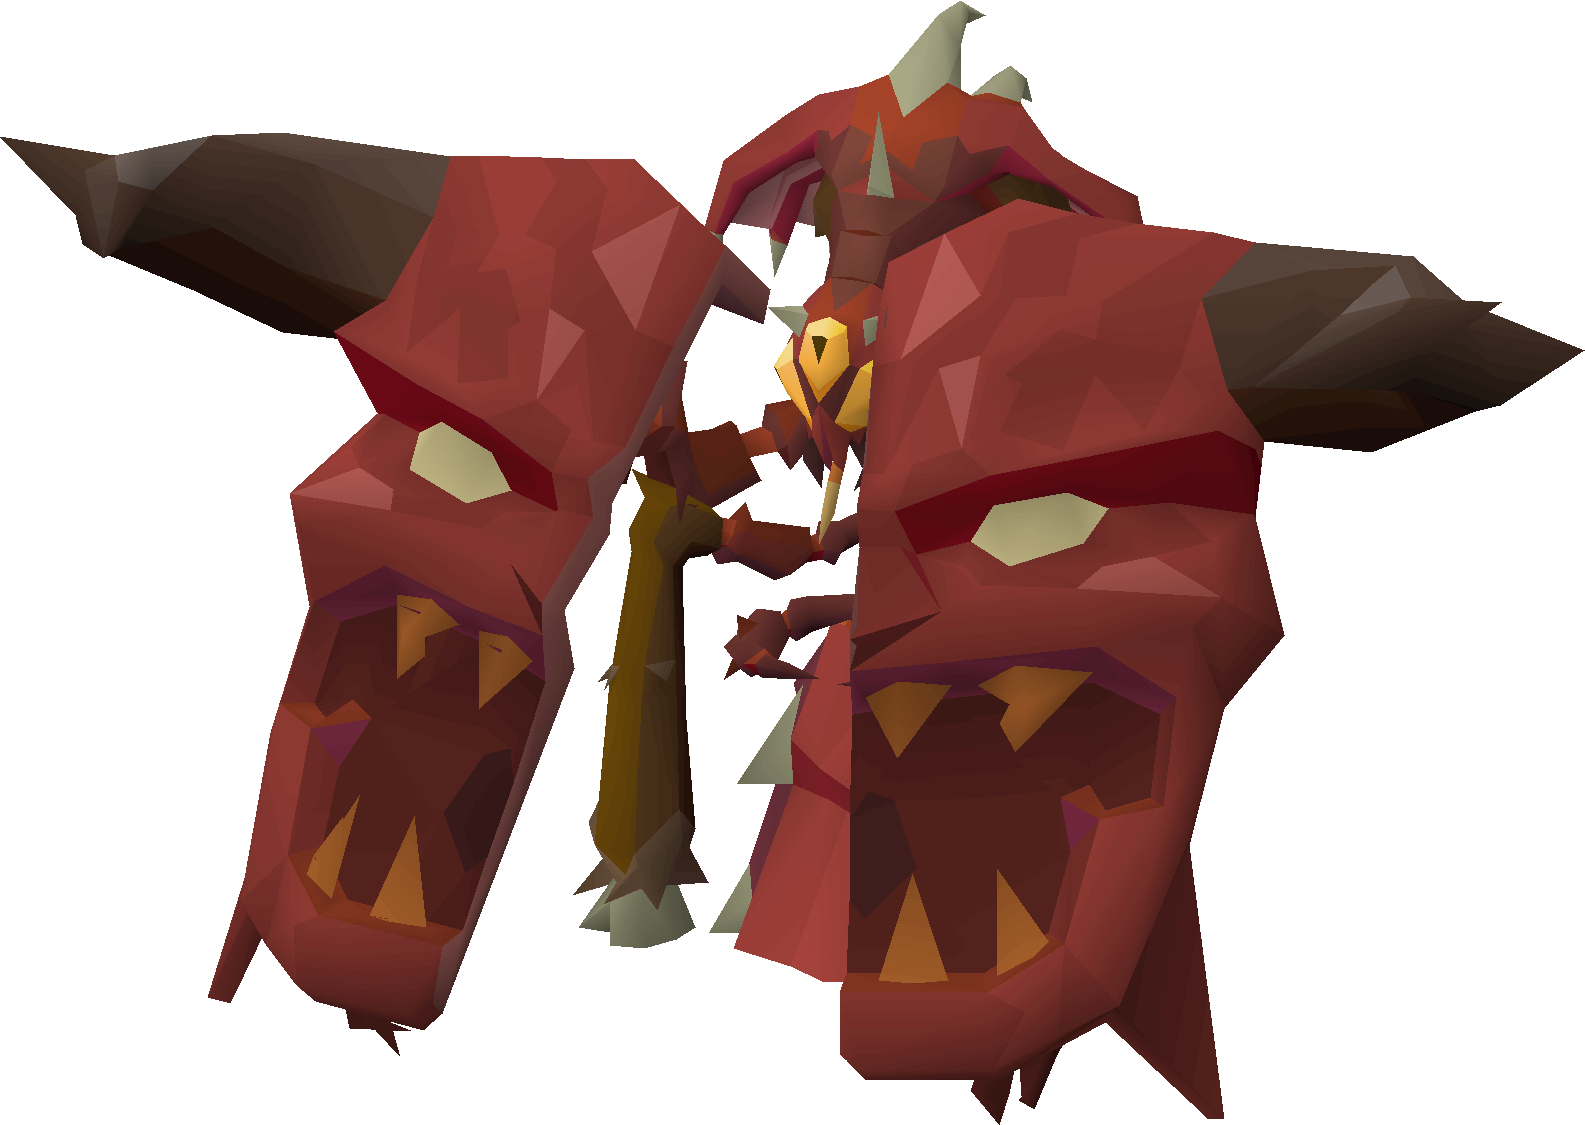
Doom of Mokhaiotl
A high-level delve boss where protection-prayer projectiles, demonbane larva switches and the decision to claim or risk rewards define each run.
standarddelvesolohigh levelvarlamore
At a glance
WIKI REFERENCEDDoom of Mokhaiotl
Mokhaiotl delve
Wiki EstimateWiki Estimate loading...Checking OSRS Wiki
Kills per hourLoading...
Difficulty5/5
Attention5/5
AFK1/5
Risk5/5
Recommended90+ Ranged
Major unlockThe Final Dawn
Overview and location
Access, encounter type and stat targets
Boss
- The Final Dawn
- 43 Prayer
- Three combat styles for larvae
- 90+ Ranged
- Strong offensive prayers
- A preset stop and cash-out plan
Requirements
Access and practical preparation
Complete the quest to unlock the Ruins of Mokhaiotl and repeatable delves.
Projectile colours identify Ranged, Magic and melee; block them before impact.
Bring Ranged plus one-hit demonbane or multi-hit tools for the melee and Magic larvae.
Continuing after a clear risks every unclaimed reward from that delve run.
Core mechanics
What controls the encounter
Projectile sequence
Pray against each coloured projectile on impact and restore the correct prayer after rock throws disable it.
Demonic larvae
Use the indicated combat style, then kill larvae close enough that their explosion damages the Doom instead of you.
Rock and shockwave
Move from falling rocks, react to the follow-up projectiles and use volatile earth to survive the shockwave.
Delve escalation
Later delves add faster attacks, more larvae and persistent acid blood while increasing the value at risk.
Gear progression
Method-specific setups and tradeoffs
Recommended inventory
Method-specific supplies and trip planning
Scorching bow or twisted bowDarklight and Slayer's staff (e) with Superior Demonbane for melee and Magic larvae1 ranging potion (4)4-6 super restores (4)Saradomin brews and cooked karambwansAntipoison++ (4)Holy waterHouse teleport tablet
Strategy
A practical step-by-step plan
Set the cash-out target
Choose a delve depth before starting and remember that dying or teleporting forfeits the unclaimed run rewards.
Read every projectile
Pray against the coloured Ranged, Magic or melee projectile before impact and reactivate prayer after a rock throw disables it.
Use the correct larva tool
Use Darklight for melee larvae and Superior Demonbane from a Slayer's staff (e) for Magic larvae; kill them in range of the Doom so the explosion damages it.
Preserve the arena
Move from falling rocks and acid blood while preparing volatile earth for the shockwave.
Claim before consistency breaks
Deeper delves improve rewards, but the risked stack is only profit after it is claimed.
YOUR ESTIMATE
Profitability and projections
The Wiki Estimate seeds loot and supply fields from current market inputs when available. Every assumption remains editable and your saved values take priority.
Checking OSRS Wiki...
Estimate statusChecking OSRS Wiki...
The calculator will update if the selected Wiki method provides a usable average loot value. You can enter your own value at any time.
Kill-count projections will appear after an average loot value is available.
Important drops
Notable rewards and drop categories
Avernic treadsEye of AyakMokhaiotl clothDemon tearsDom pet
When the Wiki publishes a matching money-making method, its estimated average loot per kill is available in the editable calculator. Otherwise, enter your own verified sample.
What should I upgrade next?
Method-specific progression priorities
Elite void Ranged with Scorching bow
Elite void is the practical armour path for the Scorching bow and keeps death costs below a Masori setup.
Darklight and Slayer's staff (e) larva switches
Correct demonbane tools remove melee and Magic larvae without paying for unnecessary Emberlight damage.
Scorching bow → twisted bow with fortified Masori
Use the expensive five-tick Ranged route only after deep-delve movement and reclaim costs are understood.
Upgrade ROIEnter upgrade values to calculate
Common mistakes
Avoidable causes of failed or inefficient trips
Ignoring projectile sequence
Losing position during demonic larvae
Mishandling rock and shockwave: Move from falling rocks, react to the follow-up projectiles and use volatile earth to survive the shockwave.
WIKI REFERENCED
Guide status and data source
Guide facts have been researched against reliable game and Wiki information. The Wiki Estimate uses current market inputs when available, while the calculator remains controlled by the player.
Mlux test: Not publishedContinue exploringCompare this activity with the full Mlux Atlas library
Open bosses