Bandos' Stronghold
God Wars
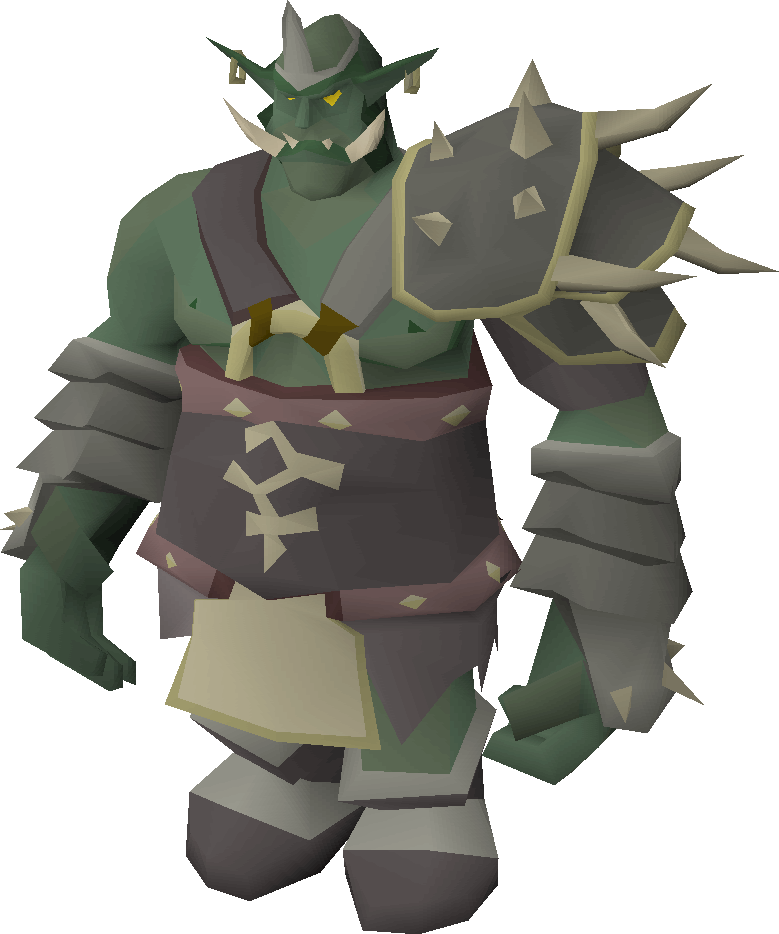
General Graardor
The Bandos general is a direct but punishing God Wars encounter with strong ranged pressure from his bodyguards.
god warsgroupstandard
At a glance
WIKI REFERENCEDGeneral Graardor
Bandos' Stronghold
Wiki EstimateWiki Estimate loading...Checking OSRS Wiki
Kills per hourLoading...
Difficulty3/5
Attention4/5
AFK1/5
Risk3/5
Recommended85+ combat stats
Major unlock70 Strength
Overview and location
Access, encounter type and stat targets
Boss
- 70 Strength for the stronghold
- Strong combat stats
- God Wars protection items
- 85+ combat stats
- Piety or Rigour for your chosen method
- A planned kill-count route
Requirements
Access and practical preparation
Required to enter Bandos' Stronghold.
Bring protection aligned with the dungeon factions you pass.
Use the standard door-entry system for the boss room.
Solo and group methods require a clear answer to Graardor and his three bodyguards.
Core mechanics
What controls the encounter
Heavy melee
Graardor's melee attacks punish weak defence and poor tank positioning.
Ranged shockwave
His ranged attack can pressure every player in the room.
Bodyguards
Steelwill, Grimspike and Strongstack continue attacking until handled.
Gear progression
Method-specific setups and tradeoffs
Recommended inventory
Method-specific supplies and trip planning
1-2 super combat potions (4) or ranging potions (4)4-6 super restores (4)Anglerfish and cooked karambwansBandos boots and unholy blessing for God Wars protectionHouse teleport tabletAncient sceptre, rune pouch and Blood Barrage runes
Strategy
A practical step-by-step plan
Choose one coherent role
Use the melee-damage setup behind a tank, the shield-based tank setup at the front, or the full-crystal Bowfa route for solo kiting.
Control Graardor's position
The tank faces Graardor away from teammates; a solo ranger follows the practiced room cycle without equipping an off-hand with the bow.
Clear the bodyguards
After Graardor dies, finish Steelwill, Grimspike and Strongstack, then use Blood Barrage only with the listed Magic switch.
Bank before the tank is empty
End the trip while food, prayer and a safe teleport remain rather than forcing one final spawn.
YOUR ESTIMATE
Profitability and projections
The Wiki Estimate seeds loot and supply fields from current market inputs when available. Every assumption remains editable and your saved values take priority.
Checking OSRS Wiki...
Estimate statusChecking OSRS Wiki...
The calculator will update if the selected Wiki method provides a usable average loot value. You can enter your own value at any time.
Kill-count projections will appear after an average loot value is available.
Important drops
Notable rewards and drop categories
Bandos chestplateBandos tassetsBandos hiltGodsword shard pieces
When the Wiki publishes a matching money-making method, its estimated average loot per kill is available in the editable calculator. Otherwise, enter your own verified sample.
What should I upgrade next?
Method-specific progression priorities
Team damage: abyssal whip or Zamorakian hasta → Osmumten's fang
The fang is the central one-handed stab upgrade and remains compatible with a dragon or Avernic defender.
Team tank: Barrows armour and crystal shield → Justiciar armour and Elysian spirit shield
Make this role-specific defensive purchase only if you regularly tank for a team.
Solo Ranged: crystal bow → bow of faerdhinen with full crystal armour
Treat Bowfa kiting as a separate solo route; the two-handed bow does not use a buckler or defender.
Upgrade ROIEnter upgrade values to calculate
Common mistakes
Avoidable causes of failed or inefficient trips
Missing protection in the main dungeon
No plan for bodyguards
Standing under the tank in a group
WIKI REFERENCED
Guide status and data source
Guide facts have been researched against reliable game and Wiki information. The Wiki Estimate uses current market inputs when available, while the calculator remains controlled by the player.
Mlux test: Not publishedContinue exploringCompare this activity with the full Mlux Atlas library
Open bosses