Falador Mole Lair
Entry boss
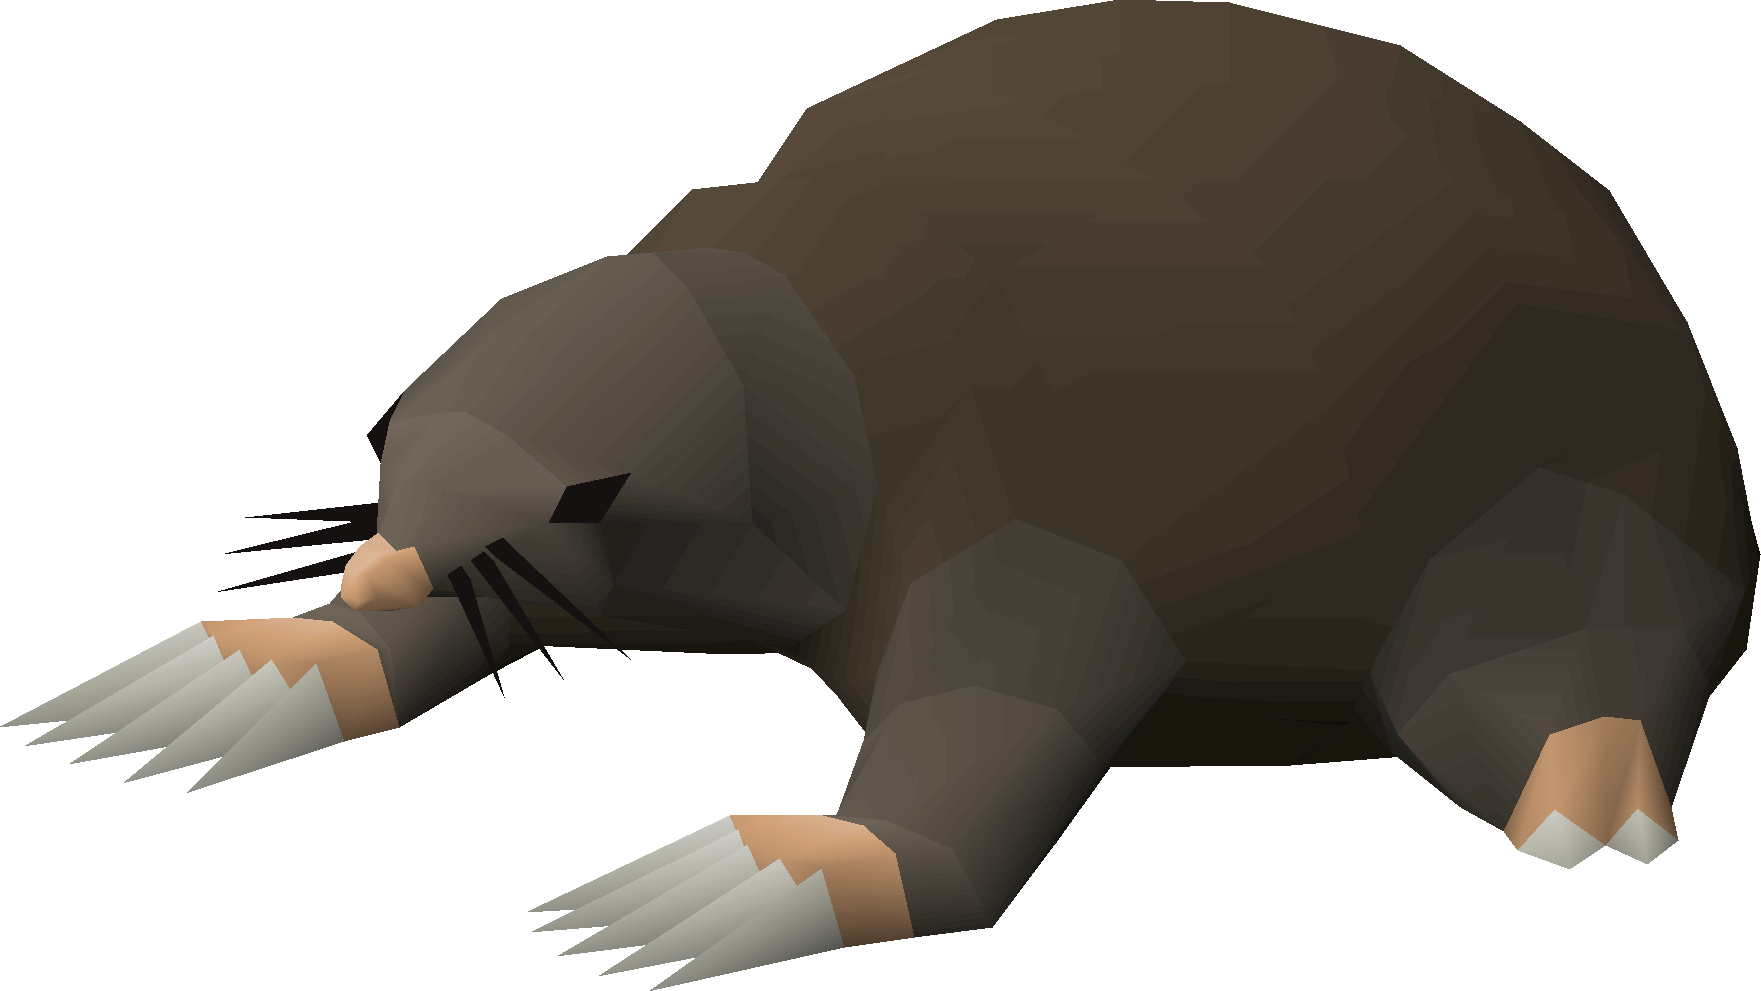
Giant Mole
An accessible boss focused on locating burrows and maintaining damage, with Falador shields making tracking much easier.
standardentry levelsolomeleeranged
At a glance
WIKI REFERENCEDGiant Mole
Falador Mole Lair
Wiki EstimateWiki Estimate loading...Checking OSRS Wiki
Kills per hourLoading...
Difficulty1/5
Attention2/5
AFK2/5
Risk1/5
RecommendedFalador hard diary
Major unlockFalador Mole Lair
Overview and location
Access, encounter type and stat targets
Boss
- Light source
- Spade
- Mid-level combat stats
- Falador hard diary
- 70+ melee or Ranged
- A fast route through the lair
Requirements
Access and practical preparation
Bring a spade and enter through Falador Park.
Carry a safe light source for the underground area.
A Falador shield from the hard diary points toward the mole after it digs.
Core mechanics
What controls the encounter
Burrowing
Follow the mole quickly after it changes rooms.
Dig triggers
Expect more relocations as damage is dealt.
Travel time
Trip efficiency depends on finding the next room quickly.
Gear progression
Method-specific setups and tradeoffs
Recommended inventory
Method-specific supplies and trip planning
Dwarven rock cake or locator orb for Dharok'sFalador shield 3 or 4 to locate the mole1-2 super combat or ranging potions (4)4-6 prayer potions (4)Stamina potion (4)Bullseye lantern or another light sourceFalador teleport and food for emergencies
Strategy
A practical step-by-step plan
Enter with tracking ready
Bring a spade and covered light source, then use Falador shield 3 or 4 after every burrow.
Protect the Dharok setup
Lower health only after Protect from Melee is active, then flick Piety while attacking with the full Dharok set.
Follow every dig
Use the Falador shield arrow immediately instead of searching room by room; the Hard Diary also notes claws and skins.
Reset safely
Restore Prayer and health before another low-health cycle, then bank the noted guaranteed drops on the chosen threshold.
YOUR ESTIMATE
Profitability and projections
The Wiki Estimate seeds loot and supply fields from current market inputs when available. Every assumption remains editable and your saved values take priority.
Checking OSRS Wiki...
Estimate statusChecking OSRS Wiki...
The calculator will update if the selected Wiki method provides a usable average loot value. You can enter your own value at any time.
Kill-count projections will appear after an average loot value is available.
Important drops
Notable rewards and drop categories
Mole skinsMole clawsBaby mole petBird nest resources
When the Wiki publishes a matching money-making method, its estimated average loot per kill is available in the editable calculator. Otherwise, enter your own verified sample.
What should I upgrade next?
Method-specific progression priorities
Amulet of rancour
Improve the primary style first so burrowing resolves with fewer switches.
Complete the recommended style set: Dharok's greataxe, helm, platebody and platelegs + Amulet of rancour + Ferocious gloves
Add the remaining combat-style switches once dig triggers can be handled without losing position.
Twisted bow with no off-hand
Complete the Giant Mole high-end set only after every required combat style has a reliable weapon.
Upgrade ROIEnter upgrade values to calculate
Common mistakes
Avoidable causes of failed or inefficient trips
Ignoring burrowing
Losing position during dig triggers
Mishandling travel time: Trip efficiency depends on finding the next room quickly.
WIKI REFERENCED
Guide status and data source
Guide facts have been researched against reliable game and Wiki information. The Wiki Estimate uses current market inputs when available, while the calculator remains controlled by the player.
Mlux test: Not publishedContinue exploringCompare this activity with the full Mlux Atlas library
Open bosses