Hailstorm Mountains
Group boss
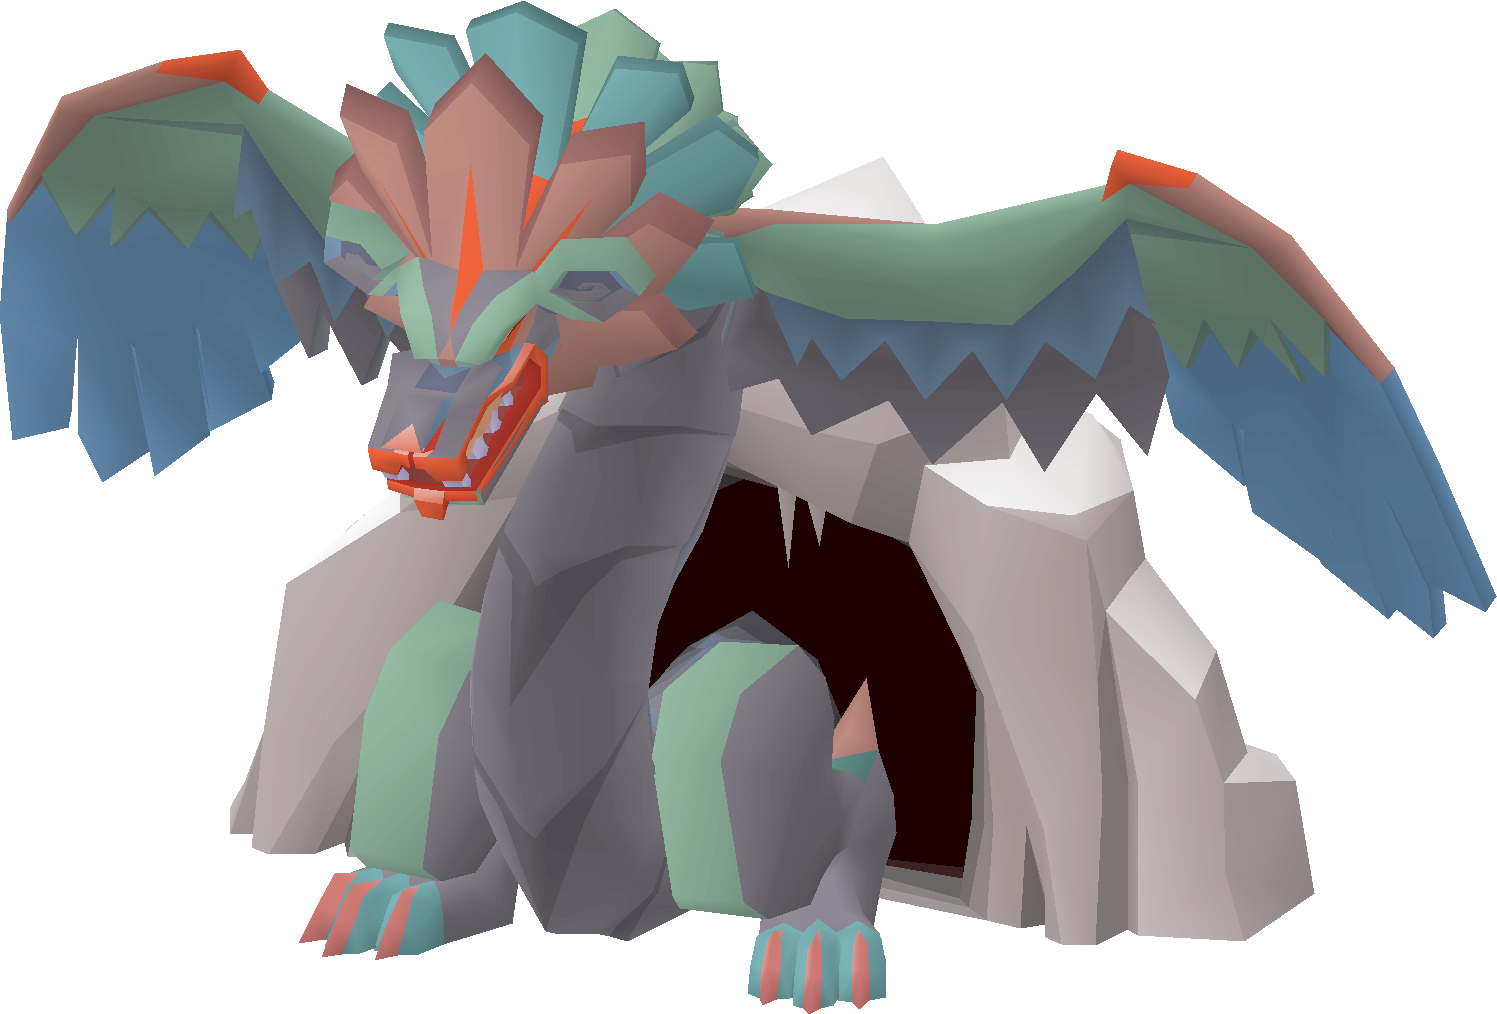
The Hueycoatl
A cooperative mountain boss with moving phases, tail damage checks and a final head phase designed for small groups.
groupvarlamoremid levelmeleestandard
At a glance
WIKI REFERENCEDThe Hueycoatl
Hailstorm Mountains
Wiki EstimateWiki Estimate loading...Checking OSRS Wiki
Kills per hourLoading...
Difficulty2/5
Attention4/5
AFK1/5
Risk2/5
Recommended70+ melee stats
Major unlockHailstorm Mountains access
Overview and location
Access, encounter type and stat targets
Boss
- Mid-level combat stats
- Protection prayers
- Group route to the mountain
- 70+ melee stats
- Crush option for tail phases
- A coordinated small group
Requirements
Access and practical preparation
Use the Varlamore route and climb to the encounter.
The encounter supports groups, so establish the route and resupply plan first.
Bring equipment suited to the body parts your group will attack.
Core mechanics
What controls the encounter
Tail phases
Move with the group and use the correct damage plan on exposed tails.
Climb transitions
Follow the encounter route without falling behind the active phase.
Head finish
Save supplies and offensive boosts for the final damage window.
Gear progression
Method-specific setups and tradeoffs
Recommended inventory
Method-specific supplies and trip planning
Dragonbane weapon for body and head phasesDual macuahuitl, glacial temotli or Torag's hammers for the tail1-2 super combat potions (4)4-6 prayer potions (4) or super restores (4)Food for lightning, rain-fire and tail mistakesRune pouch and Book of the dead if using thrallsPendant of ates or another Varlamore travel option
Strategy
A practical step-by-step plan
Join before the first phase ends
Enter before the body segments are cleared so your contribution is not heavily reduced.
Read the rain-fire colour
Use the matching protection prayer and step off glowing floor symbols before lightning lands.
Balance summit prayers
In teams of three or more, divide Magic, Melee and Missiles prayers evenly when the seer checks the pillars for the damage buff.
Switch for the tail
Use a multi-hit crush weapon with crush as the highest accuracy bonus, then move from the tail shockwave.
Return to dragonbane
Switch back to the dragon hunter lance or chosen dragonbane weapon for the final head phase.
YOUR ESTIMATE
Profitability and projections
The Wiki Estimate seeds loot and supply fields from current market inputs when available. Every assumption remains editable and your saved values take priority.
Checking OSRS Wiki...
Estimate statusChecking OSRS Wiki...
The calculator will update if the selected Wiki method provides a usable average loot value. You can enter your own value at any time.
Kill-count projections will appear after an average loot value is available.
Important drops
Notable rewards and drop categories
Hueycoatl hideTome of earthDragon hunter wandHuberte pet
When the Wiki publishes a matching money-making method, its estimated average loot per kill is available in the editable calculator. Otherwise, enter your own verified sample.
What should I upgrade next?
Method-specific progression priorities
Dragon mace or zombie axe → dragon hunter lance
Dragonbane damage improves the body and head phases while remaining compatible with a defender.
Add dual macuahuitl for the tail
The multi-hit crush weapon raises the tail damage cap and shortens the shield phase.
Add Blood moon armour for the tail switch
Treat the larger switch as a later optimisation after rain-fire prayers and tail movement are reliable.
Upgrade ROIEnter upgrade values to calculate
Common mistakes
Avoidable causes of failed or inefficient trips
Ignoring tail phases
Losing position during climb transitions
Mishandling head finish: Save supplies and offensive boosts for the final damage window.
WIKI REFERENCED
Guide status and data source
Guide facts have been researched against reliable game and Wiki information. The Wiki Estimate uses current market inputs when available, while the calculator remains controlled by the player.
Mlux test: Not publishedContinue exploringCompare this activity with the full Mlux Atlas library
Open bosses