Zamorak's Fortress
God Wars
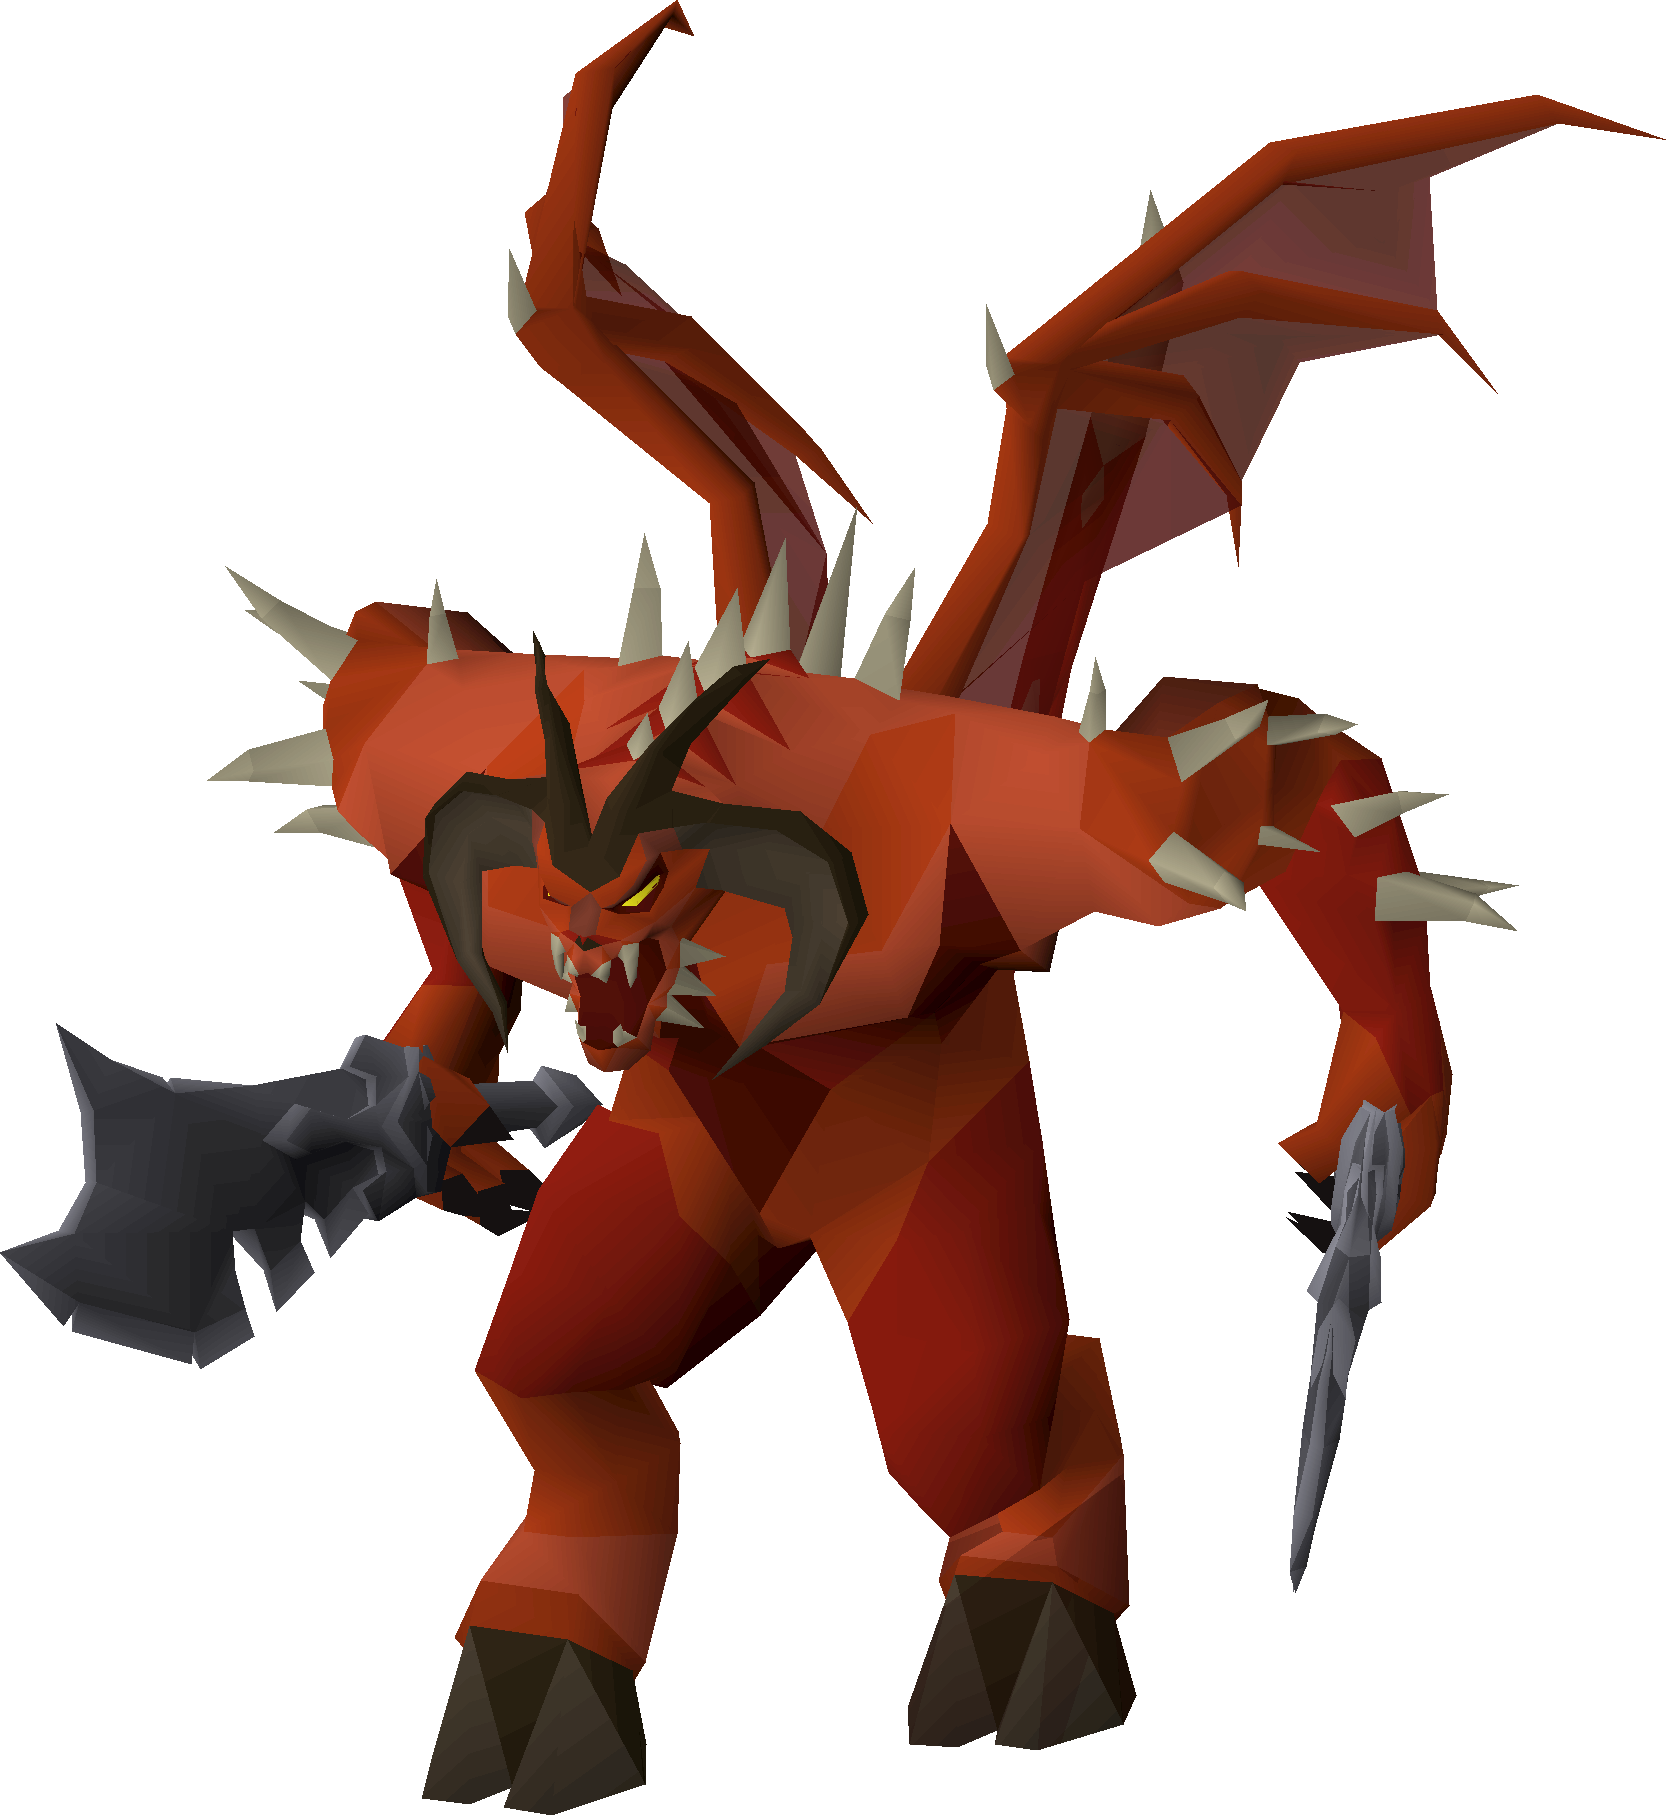
K'ril Tsutsaroth
The Zamorakian God Wars general, fought with a team, demonbane melee or practiced solo kiting methods.
god warsgroupsolodemonmelee
At a glance
WIKI REFERENCEDK'ril Tsutsaroth
Zamorak's Fortress
Wiki EstimateWiki Estimate loading...Checking OSRS Wiki
Kills per hourLoading...
Difficulty4/5
Attention4/5
AFK1/5
Risk3/5
Recommended85+ combat stats
Major unlock70 Hitpoints
Overview and location
Access, encounter type and stat targets
Boss
- 70 Hitpoints for the fortress
- God Wars protection items
- Strong melee or Ranged stats
- 85+ combat stats
- Piety or Rigour
- Demonbane weapon where applicable
Requirements
Access and practical preparation
Required to enter Zamorak's Fortress.
Prepare the standard God Wars room access.
Use appropriate protection while travelling through the dungeon.
Core mechanics
What controls the encounter
Yarr special attack
K'ril can hit through prayer and drain Prayer, so keep a safe health buffer.
Bodyguards
Manage melee, Ranged and Magic bodyguard pressure after each kill.
Positioning
Use a defined tank, step-under or kiting plan.
Gear progression
Method-specific setups and tradeoffs
Recommended inventory
Method-specific supplies and trip planning
Primary Emberlight or Scorching bow setup1-2 super combat or ranging potions (4)6-10 super restores (4)Antidote++ (4)Saradomin brews and cooked karambwansAncient sceptre, rune pouch and Blood Barrage runes when using Ancient MagicksGod Wars teleport and house teleport tablet
Strategy
A practical step-by-step plan
Choose the role
Use Arclight or Emberlight behind a team tank, or commit to the complete Scorching bow bind route for solo kills.
Set the protection prayer
A melee tank normally uses Protect from Melee and keeps health high for the prayer smash; a Scorching bow solo uses Protect from Missiles for the ranged bodyguard.
Control poison and specials
Keep Antidote++ active and do not let a prayer-smash hit combine with low health and bodyguard damage.
Recover on bodyguards
After K'ril dies, clear the Magic bodyguard first and stack the others for Blood Barrage when that spellbook is being used.
YOUR ESTIMATE
Profitability and projections
The Wiki Estimate seeds loot and supply fields from current market inputs when available. Every assumption remains editable and your saved values take priority.
Checking OSRS Wiki...
Estimate statusChecking OSRS Wiki...
The calculator will update if the selected Wiki method provides a usable average loot value. You can enter your own value at any time.
Kill-count projections will appear after an average loot value is available.
Important drops
Notable rewards and drop categories
Zamorakian spearStaff of the deadZamorak hiltSteam battlestaff
When the Wiki publishes a matching money-making method, its estimated average loot per kill is available in the editable calculator. Otherwise, enter your own verified sample.
What should I upgrade next?
Method-specific progression priorities
Arclight → Emberlight for team melee
The direct demonbane upgrade improves the same one-handed team role and stays compatible with a defender.
Dragon defender → Avernic defender
Add the off-hand upgrade after Emberlight when regularly using the melee team method.
Separate solo route: Scorching bow and Lightbearer
Treat the bind-and-kite method as a distinct setup rather than mixing its gear into the melee tiers.
Upgrade ROIEnter upgrade values to calculate
Common mistakes
Avoidable causes of failed or inefficient trips
Ignoring yarr special attack
Losing position during bodyguards
Mishandling positioning: Use a defined tank, step-under or kiting plan.
WIKI REFERENCED
Guide status and data source
Guide facts have been researched against reliable game and Wiki information. The Wiki Estimate uses current market inputs when available, while the calculator remains controlled by the player.
Mlux test: Not publishedContinue exploringCompare this activity with the full Mlux Atlas library
Open bosses