Wyrmscraig
Quest boss
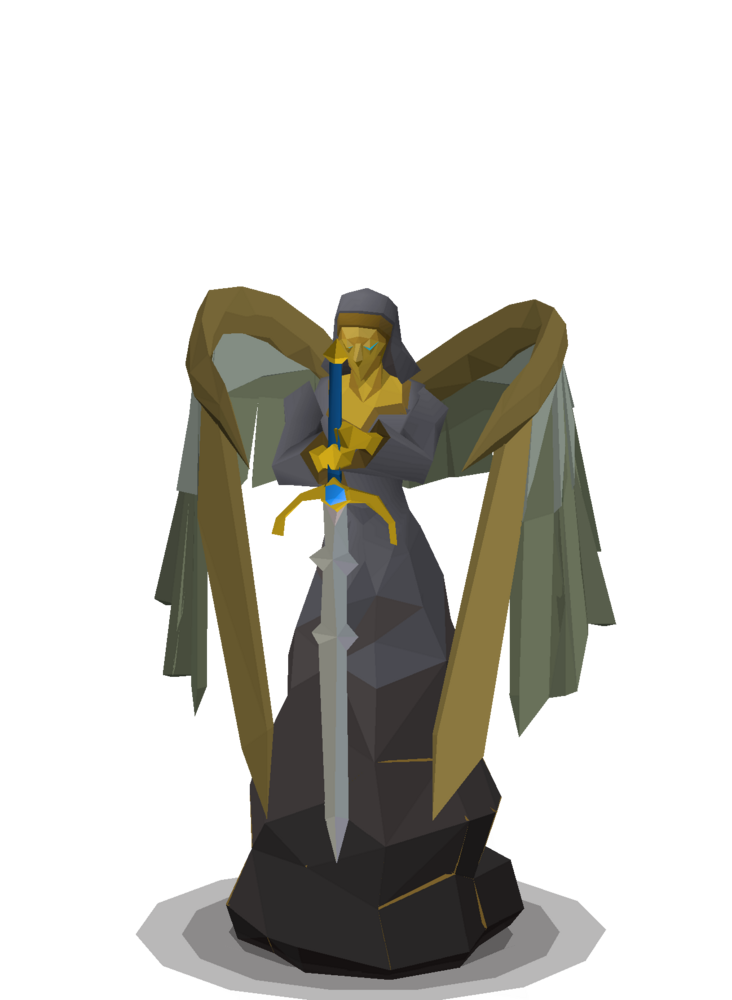
Mad Angel
A repeatable crush-focused Wyrmscraig boss where side-step cleaves, reflected light and timed Magic protection decide the kill.
sailingquestsolowyrmscraigfallen from grace
At a glance
WIKI REFERENCEDMad Angel
Wyrmscraig
Wiki EstimateWiki Estimate loading...Checking OSRS Wiki
Kills per hourLoading...
Difficulty4/5
Attention5/5
AFK1/5
Risk3/5
Recommended75+ Attack and Strength
Major unlockFallen From Grace
Overview and location
Access, encounter type and stat targets
Boss
- Fallen From Grace
- 62 Sailing
- 60 Crafting, 47 Runecraft and 53 Mining for the quest
- 75+ Attack and Strength
- 70+ Defence
- 70+ Prayer
- 76 Magic if using thralls
Requirements
Access and practical preparation
Complete the quest before returning to the Mad Angel as a repeatable boss.
The quest requires 62 Sailing, 60 Crafting, 47 Runecraft and 53 Mining.
Use a Necklace of passage or the Wyrmscraig Cavern Slayer ring teleport, then travel to the Fallen Cathedral.
The Mad Angel is a golem target; crush accuracy and golembane bonuses are central to the standard melee method.
Core mechanics
What controls the encounter
Sword cleave
Watch which side the sword is drawn toward, then step behind the boss or to the opposite safe side before the cleave resolves.
Reflected light
Move onto the marked shadow tile before the light lands; repeat the reposition for all three bounces.
Lightning prayer
Activate Protect from Magic for the lightning hit, then return to Protect from Melee for normal attacks.
Enrage
Below roughly 350 health the attack pace increases and the lightning sequence can repeat three times, so protect movement and prayer timing over extra hits.
Gear progression
Method-specific setups and tradeoffs
Recommended inventory
Method-specific supplies and trip planning
1 divine super combat potion (4)5-6 prayer potions (4) or super restores (4)Manta rays or dark crabs, with 1 anglerfish for pre-pottingDragon mace or Crimson kisten for special attacksRune pouch and Book of the dead if using thrallsArdeaglais teleport or Wyrmscraig travel itemHouse teleport tablet
Strategy
A practical step-by-step plan
Reach the Fallen Cathedral
Use a Necklace of passage, the Wyrmscraig Cavern Slayer ring teleport or an unlocked Ardeaglais teleport, then enter the repeatable arena.
Open on Protect from Melee
The normal pattern uses three attacks before a special. Keep the boss centred enough that both cleave sides remain readable.
Dodge the sword side
When the sword draws to one side, move behind the boss or to the opposite safe side before returning to crush attacks.
Reflect all three lights
Step onto each marked shadow tile before the light lands; immediately identify the next shadow after every bounce.
Protect the enrage
Use Protect from Magic for lightning, then restore Protect from Melee. Below roughly 350 health, expect three faster lightning hits rather than one.
YOUR ESTIMATE
Profitability and projections
The Wiki Estimate seeds loot and supply fields from current market inputs when available. Every assumption remains editable and your saved values take priority.
Checking OSRS Wiki...
Estimate statusChecking OSRS Wiki...
The calculator will update if the selected Wiki method provides a usable average loot value. You can enter your own value at any time.
Kill-count projections will appear after an average loot value is available.
Important drops
Notable rewards and drop categories
HallowfellArdeaglais teleport scrollGranite dustJar of light and Mad Angel pet
When the Wiki publishes a matching money-making method, its estimated average loot per kill is available in the editable calculator. Otherwise, enter your own verified sample.
What should I upgrade next?
Method-specific progression priorities
Zombie axe → granite hammer
The granite hammer directly benefits from the Mad Angel's golem classification and keeps a defender available.
Fighter torso and Verac's plateskirt → Inquisitor's hauberk and plateskirt
Crush accuracy and damage are useful once cleave and reflected-light mistakes are already rare.
Amulet of strength → amulet of rancour
Buy offensive jewellery after the golembane weapon because it does not change the lightning or movement checks.
Upgrade ROIEnter upgrade values to calculate
Common mistakes
Avoidable causes of failed or inefficient trips
Dodging toward the sword instead of behind or to the opposite side
Missing a reflected-light shadow tile and losing the three-bounce rhythm
Leaving Protect from Magic active after lightning and taking an unprotected melee hit
Using expensive armour before the enrage prayer timing is consistent
WIKI REFERENCED
Guide status and data source
Guide facts have been researched against reliable game and Wiki information. The Wiki Estimate uses current market inputs when available, while the calculator remains controlled by the player.
Mlux test: Not publishedContinue exploringCompare this activity with the full Mlux Atlas library
Open bosses