Complete the quest to unlock repeatable encounters in Ghorrock Dungeon.
Complete boss guide
Phantom Muspah
Control both forms, manage the prayer shield, and build a clean movement pattern for repeatable solo kills.
Solo encounterRanged or hybridMovement checksPrayer shield
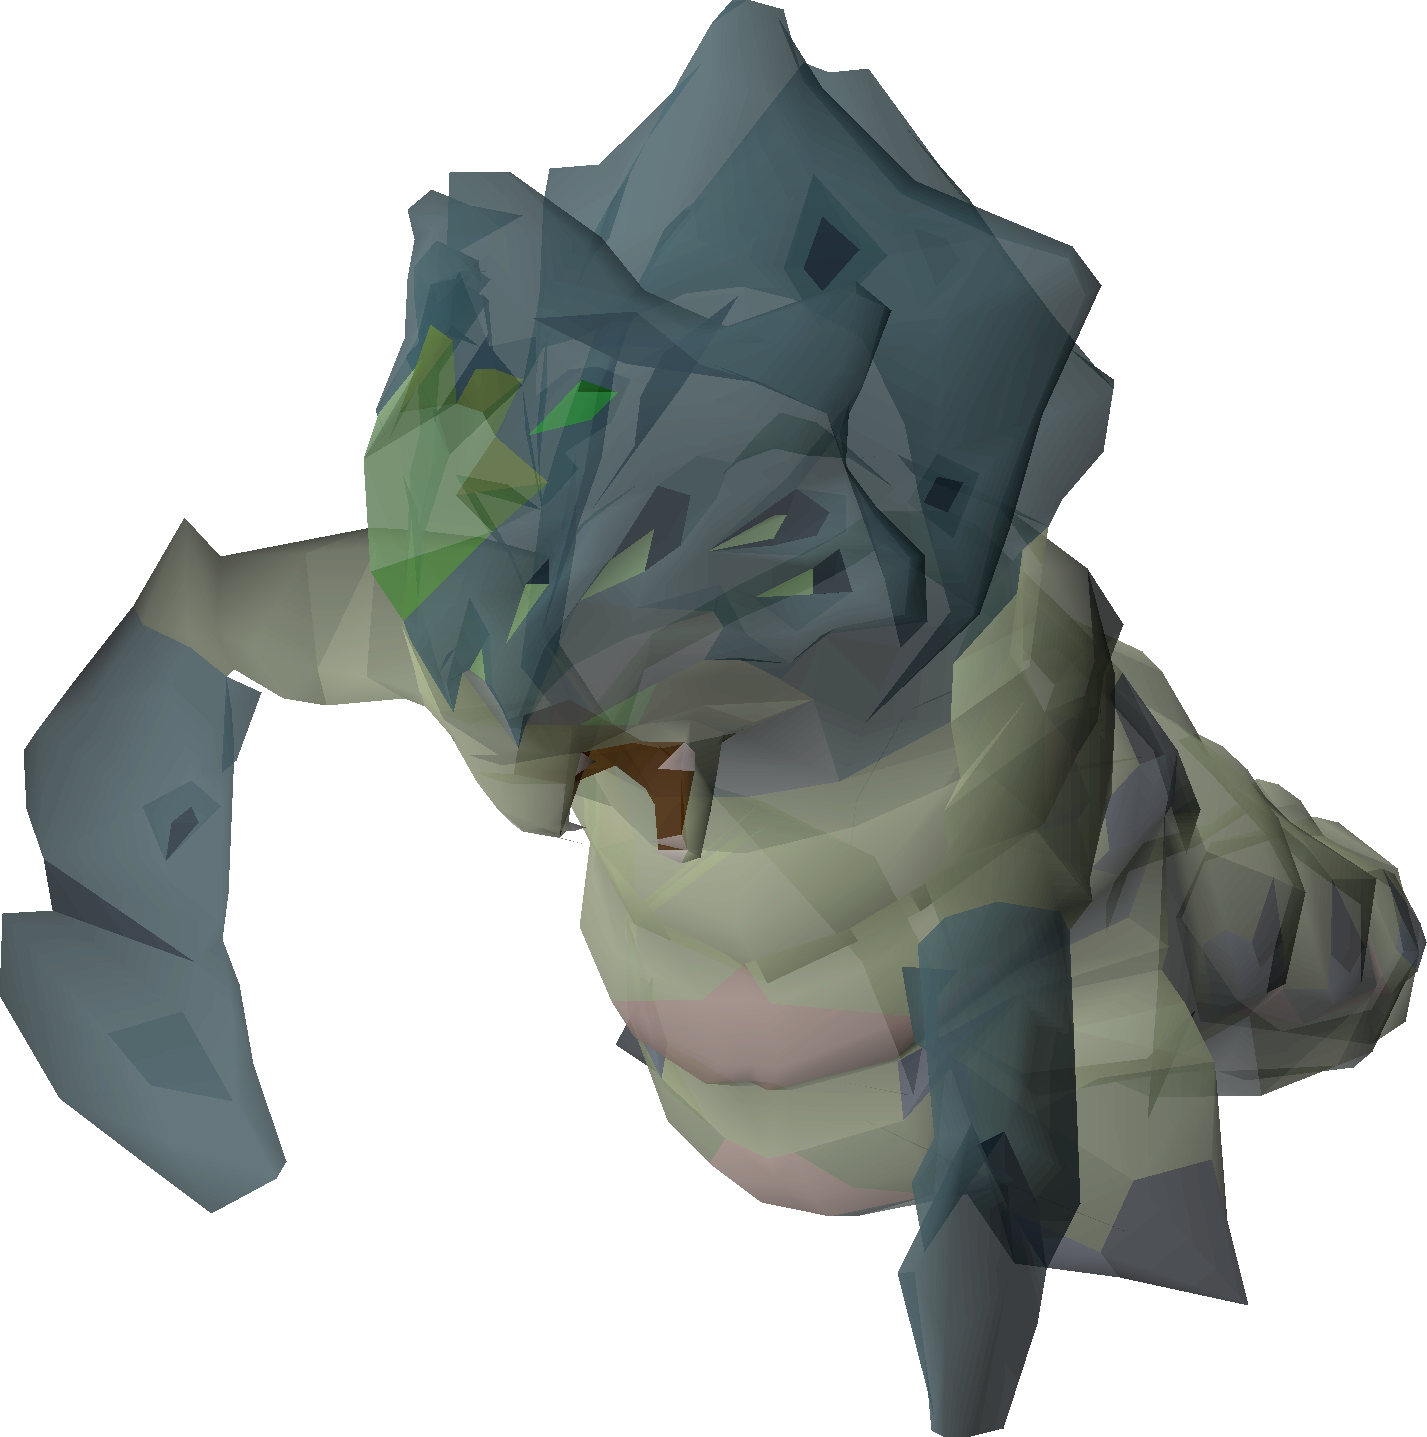
At a glance
WIKI REFERENCEDPhantom Muspah
Ghorrock Dungeon
Wiki EstimateWiki Estimate loading...Checking OSRS Wiki
Kills per hourLoading...
Difficulty4/5
Attention4/5
AFK1/5
Risk2/5
RecommendedRecommended: 85+ Ranged
Major unlockSecrets of the North
Requirements and recommendations
Mandatory access and clearly labelled practical targets
Recommended for reliable ranged-only or hybrid kills.
Useful when bringing a magic switch for the melee form.
Rigour helps throughout the fight and Smite is central to the shield phase.
Sapphire enchanted bolts are a practical answer to the prayer shield.
Leave enough inventory room that supplies do not become harder than the mechanics.
Core mechanics
What controls the method
Ranged form
Use Ranged damage and keep Protect from Missiles active for the standard green projectile.
Charged Magic attack
Switch to Protect from Magic when the ranged form stands upright and charges a purple orb, then return to Protect from Missiles.
Melee form
Kite around the room or use step-back timing so the Muspah cannot land its melee hit.
Spike eruption
Read the floor and move into open space before the spikes restrict your route.
Teleport strike
React to the reposition and restore spacing before returning to your damage cycle.
Prayer shield
Use Smite and sapphire enchanted bolts to drain the shield efficiently.
Final phase
Keep prayers controlled and finish the kill without allowing the shrinking arena to rush your clicks.
Equipment setups
Budget, recommended, and high-end options
Ranged-only learner
Keeps switches out of the fight so you can focus on kiting, spikes, and the prayer shield.
- Dragon crossbow
- Blessed dragonhide body and chaps
- Ruby dragon bolts (e)
- Sapphire dragon bolts (e)
- Ava's accumulator
- Barrows gloves
Comfort hybrid
Use Magic on the melee form and Ranged on the ranged form for more reliable damage.
- Bow of faerdhinen
- Crystal helm, body and legs
- Trident of the swamp
- Ahrim's hood, robetop and robeskirt
- Dragon crossbow with sapphire dragon bolts (e)
- Lightbearer
Premium ranged
High-end Ranged gear simplifies the inventory once movement and shield timing are consistent.
- Twisted bow
- Masori mask, body and chaps
- Zaryte crossbow
- Sapphire dragon bolts (e)
- Zaryte vambraces
- Venator ring
Inventory
Specific supplies for the method and trip
1-2 ranging potions (4)4-6 prayer potions (4) or super restores (4)Ruby dragon bolts (e) and sapphire dragon bolts (e)Anglerfish and cooked karambwansStamina potion (4) for learner kitingRing of shadows and house teleport tablet
Strategy
A practical step-by-step plan
Begin with spacing
Start at range and keep the centre of the room available for later movement.
Respect the current form
Change prayer and combat style before chasing damage.
Move with a route
Kite around the perimeter without trapping yourself behind spike patterns.
Prepare for the shield
Switch to Smite and sapphire bolts immediately when the prayer shield appears.
Finish without rushing
Keep enough food and prayer for the final phase rather than overcommitting earlier.
Before you commit
How to use this guide
Ranged-only is easier to learn, while hybrid setups can improve consistency with practice.
Use your own kill time and supply use when comparing Muspah with Vorkath or Zulrah.
YOUR ESTIMATE
Profitability and projections
The Wiki Estimate seeds loot and supply fields from current market inputs when available. Every assumption remains editable and your saved values take priority.
Checking OSRS Wiki...
Estimate statusChecking OSRS Wiki...
The calculator will update if the selected Wiki method provides a usable average loot value. You can enter your own value at any time.
Kill-count projections will appear after an average loot value is available.
Upgrade priority
Qualitative guidance, not fabricated DPS
Dragon crossbow -> bow of faerdhinen with crystal armour
The complete Bowfa route improves Ranged-form damage while the crossbow remains available for enchanted sapphire bolts.
Trident of the swamp and Ahrim's robes
Add the Magic switch when kiting the melee form no longer disrupts spike and prayer timing.
Dragon crossbow -> Zaryte crossbow for the shield
The high-end crossbow improves the sapphire-bolt shield tool without replacing the separate primary Ranged weapon.
Upgrade ROIEnter upgrade values to calculate
Common mistakes
Fix execution before adding cost
Ignoring ranged form: Use Ranged damage and keep Protect from Missiles active for the standard green projectile.
Ignoring charged magic attack: Switch to Protect from Magic when the ranged form stands upright and charges a purple orb, then return to Protect from Missiles.
Ignoring melee form: Kite around the room or use step-back timing so the Muspah cannot land its melee hit.
WIKI REFERENCED
Guide status and data source
Guide facts have been researched against reliable game and Wiki information. The Wiki Estimate uses current market inputs when available, while the calculator remains controlled by the player.
Mlux test: Not publishedContinue exploringCompare another published Mlux Atlas guide
Open bosses