Chasm of Fire
Group boss
Yama
A high-intensity demon encounter for solo or duo play that rewards coordinated melee and magic gear, movement and role awareness.
groupquestdemonhybrid
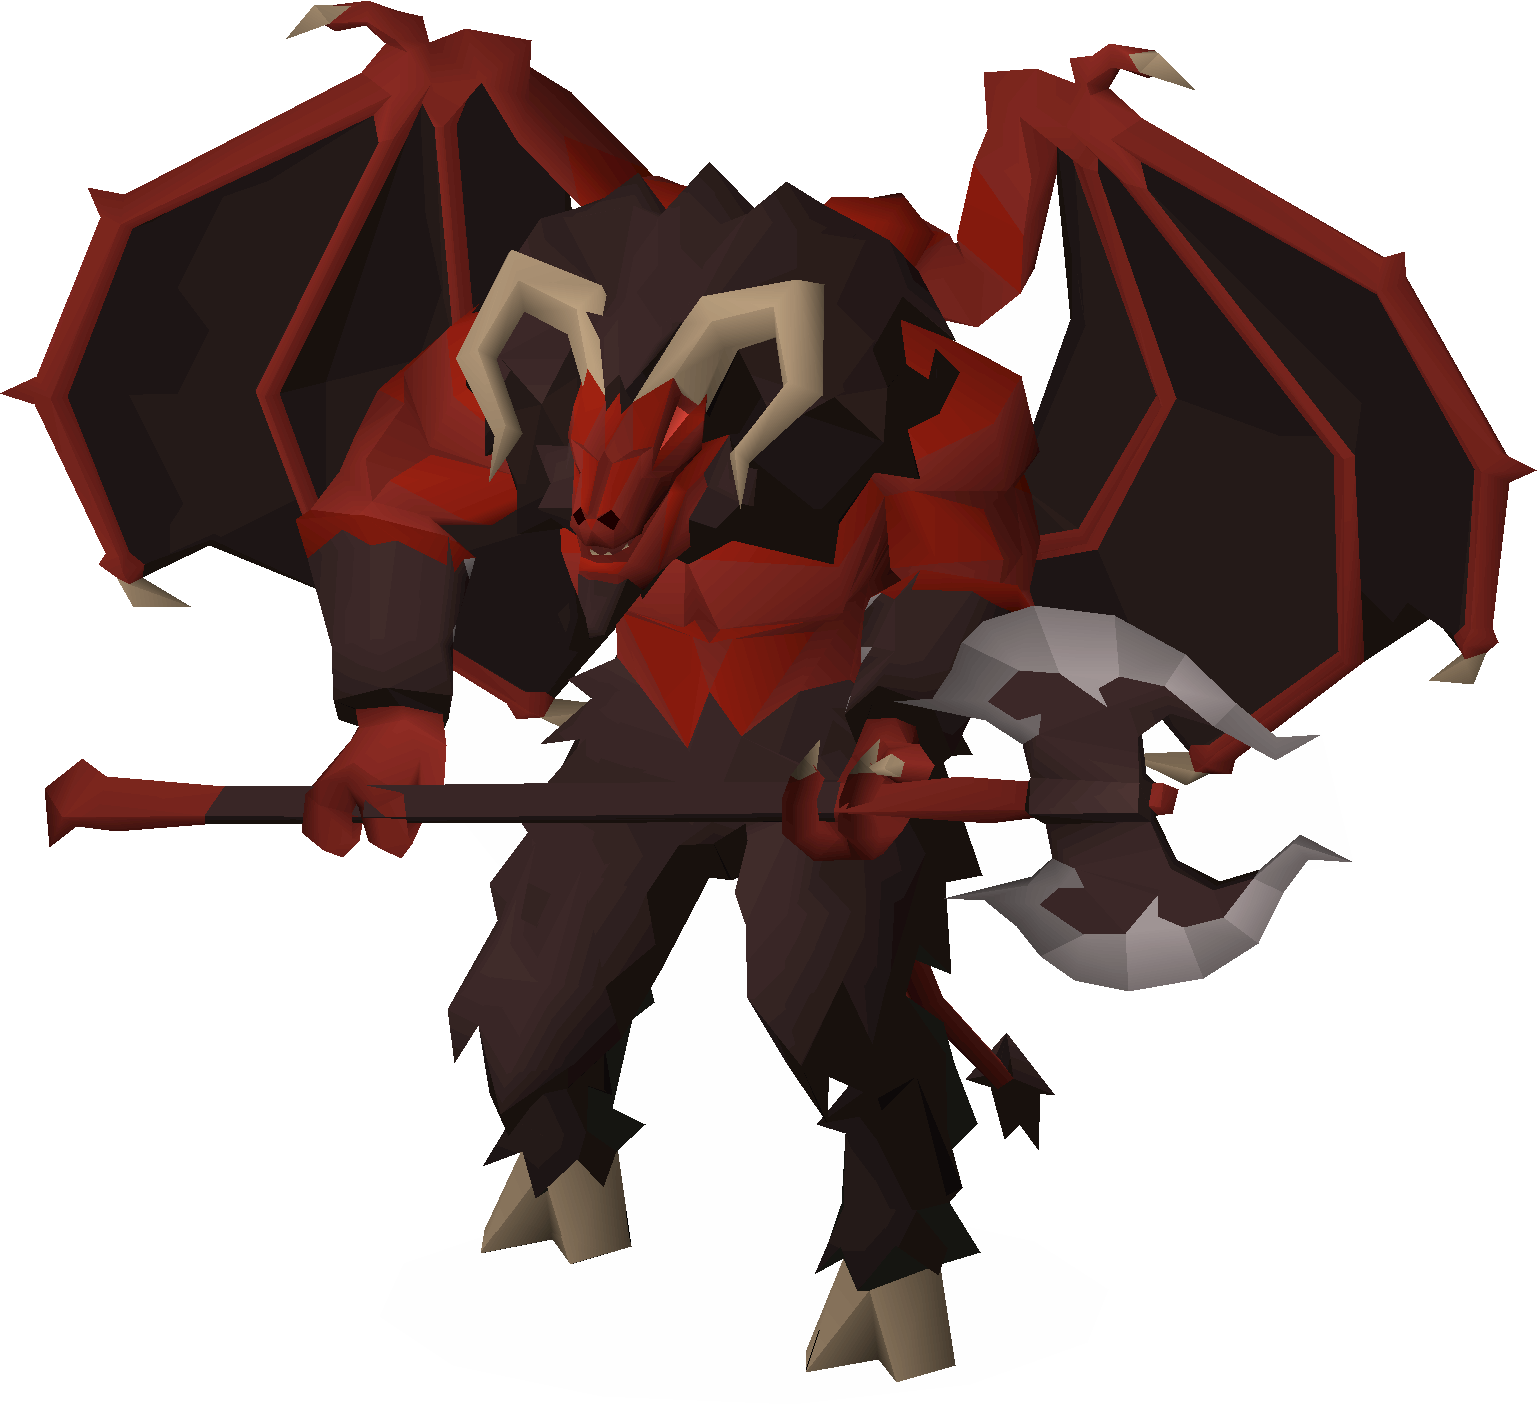
At a glance
WIKI REFERENCEDYama
Chasm of Fire
Wiki EstimateWiki Estimate loading...Checking OSRS Wiki
Kills per hourLoading...
Difficulty5/5
Attention5/5
AFK1/5
Risk4/5
Recommended90+ combat stats
Major unlockA Kingdom Divided
Overview and location
Access, encounter type and stat targets
Boss
- High melee and Magic stats
- Strong protection and offensive prayers
- Melee and Magic equipment
- 90+ combat stats
- Experienced movement and prayer control
- A practiced duo partner for duo attempts
Requirements
Access and practical preparation
Complete the quest, speak to Yama in person and sign the Voice of Yama's contract in Yama's Domain.
Choose a coherent primary method. Both styles are viable, but a two-style switch is not a hard requirement.
Emberlight and Purging staff are strong optional upgrades after While Guthix Sleeps.
Choose supplies and movement roles for the selected team size before challenging Yama.
Core mechanics
What controls the encounter
Prayer-reactive attacks
Protect from Melee against the axe swing, Protect from Magic before the flame snap and Protect from Missiles before the shadow snap.
Fire and shadow glyphs
Stand on the matching glyph before its special resolves; only one player needs to activate it in a duo.
Waves and fire streaks
Skip over shadow waves and keep moving through fire streaks so they do not disable prayer or bind you away from the next glyph.
Final phase
Track the faster attack and special sequence while preserving a clear path to the required glyph.
Gear progression
Method-specific setups and tradeoffs
Recommended inventory
Method-specific supplies and trip planning
Primary melee or Magic setup1 super combat potion (4) or saturated heart for the selected styleSanfew serums (4) for Prayer and poisonSaradomin brews and cooked karambwansRune pouch for the chosen spellbookChasm of Fire teleport and house teleport tablet
Strategy
A practical step-by-step plan
Choose the combat plan
Use a coherent melee or Magic setup and decide solo or duo roles before signing the contract.
Read the snap attack
Match Protect from Magic to flames and Protect from Missiles to shadow swirls; use Protect from Melee for an adjacent axe swing.
Claim the correct glyph
Step onto the fire or shadow glyph that matches the incoming special, with one player handling each activation in a duo.
Cross the moving hazards
Skip over shadow waves and keep running through fire streaks so prayer stays active and the next glyph remains reachable.
Preserve the final route
Enter the last phase with Prayer, poison control and open tiles rather than spending every supply on earlier damage.
YOUR ESTIMATE
Profitability and projections
The Wiki Estimate seeds loot and supply fields from current market inputs when available. Every assumption remains editable and your saved values take priority.
Checking OSRS Wiki...
Estimate statusChecking OSRS Wiki...
The calculator will update if the selected Wiki method provides a usable average loot value. You can enter your own value at any time.
Kill-count projections will appear after an average loot value is available.
Important drops
Notable rewards and drop categories
Yama-specific unique rewardsDemonbane-related rewardsCommon supply and alchable drops
When the Wiki publishes a matching money-making method, its estimated average loot per kill is available in the editable calculator. Otherwise, enter your own verified sample.
What should I upgrade next?
Method-specific progression priorities
Arclight → Emberlight
Improve the melee demonbane weapon first so the melee damage role reaches its final practical weapon without an unnecessary later repeat.
Trident of the swamp → Purging staff
Upgrade the Magic role separately so both required combat styles have a purpose-built weapon.
Virtus robe top and robe bottom → Ancestral robe top and robe bottom
Treat the Magic armour step as a later damage upgrade after Emberlight, Purging staff and clean phase switches are already in place.
Upgrade ROIEnter upgrade values to calculate
Common mistakes
Avoidable causes of failed or inefficient trips
Entering without a complete two-style setup
Stacking with a duo partner during hazards
Prioritizing damage over arena awareness
WIKI REFERENCED
Guide status and data source
Guide facts have been researched against reliable game and Wiki information. The Wiki Estimate uses current market inputs when available, while the calculator remains controlled by the player.
Mlux test: Not publishedContinue exploringCompare this activity with the full Mlux Atlas library
Open bosses