Reach the Theatre through the Morytania questline. Entry Mode is the correct place to learn rooms and complete the related quest step.
Raids 2 progression guide
Theatre of Blood
Use Entry Mode to learn the room language, graduate to a role-based Normal Mode setup, and invest in melee damage only after the team mechanics are dependable.
Entry, Normal, HardTeam rolesMelee focusedSix encounters
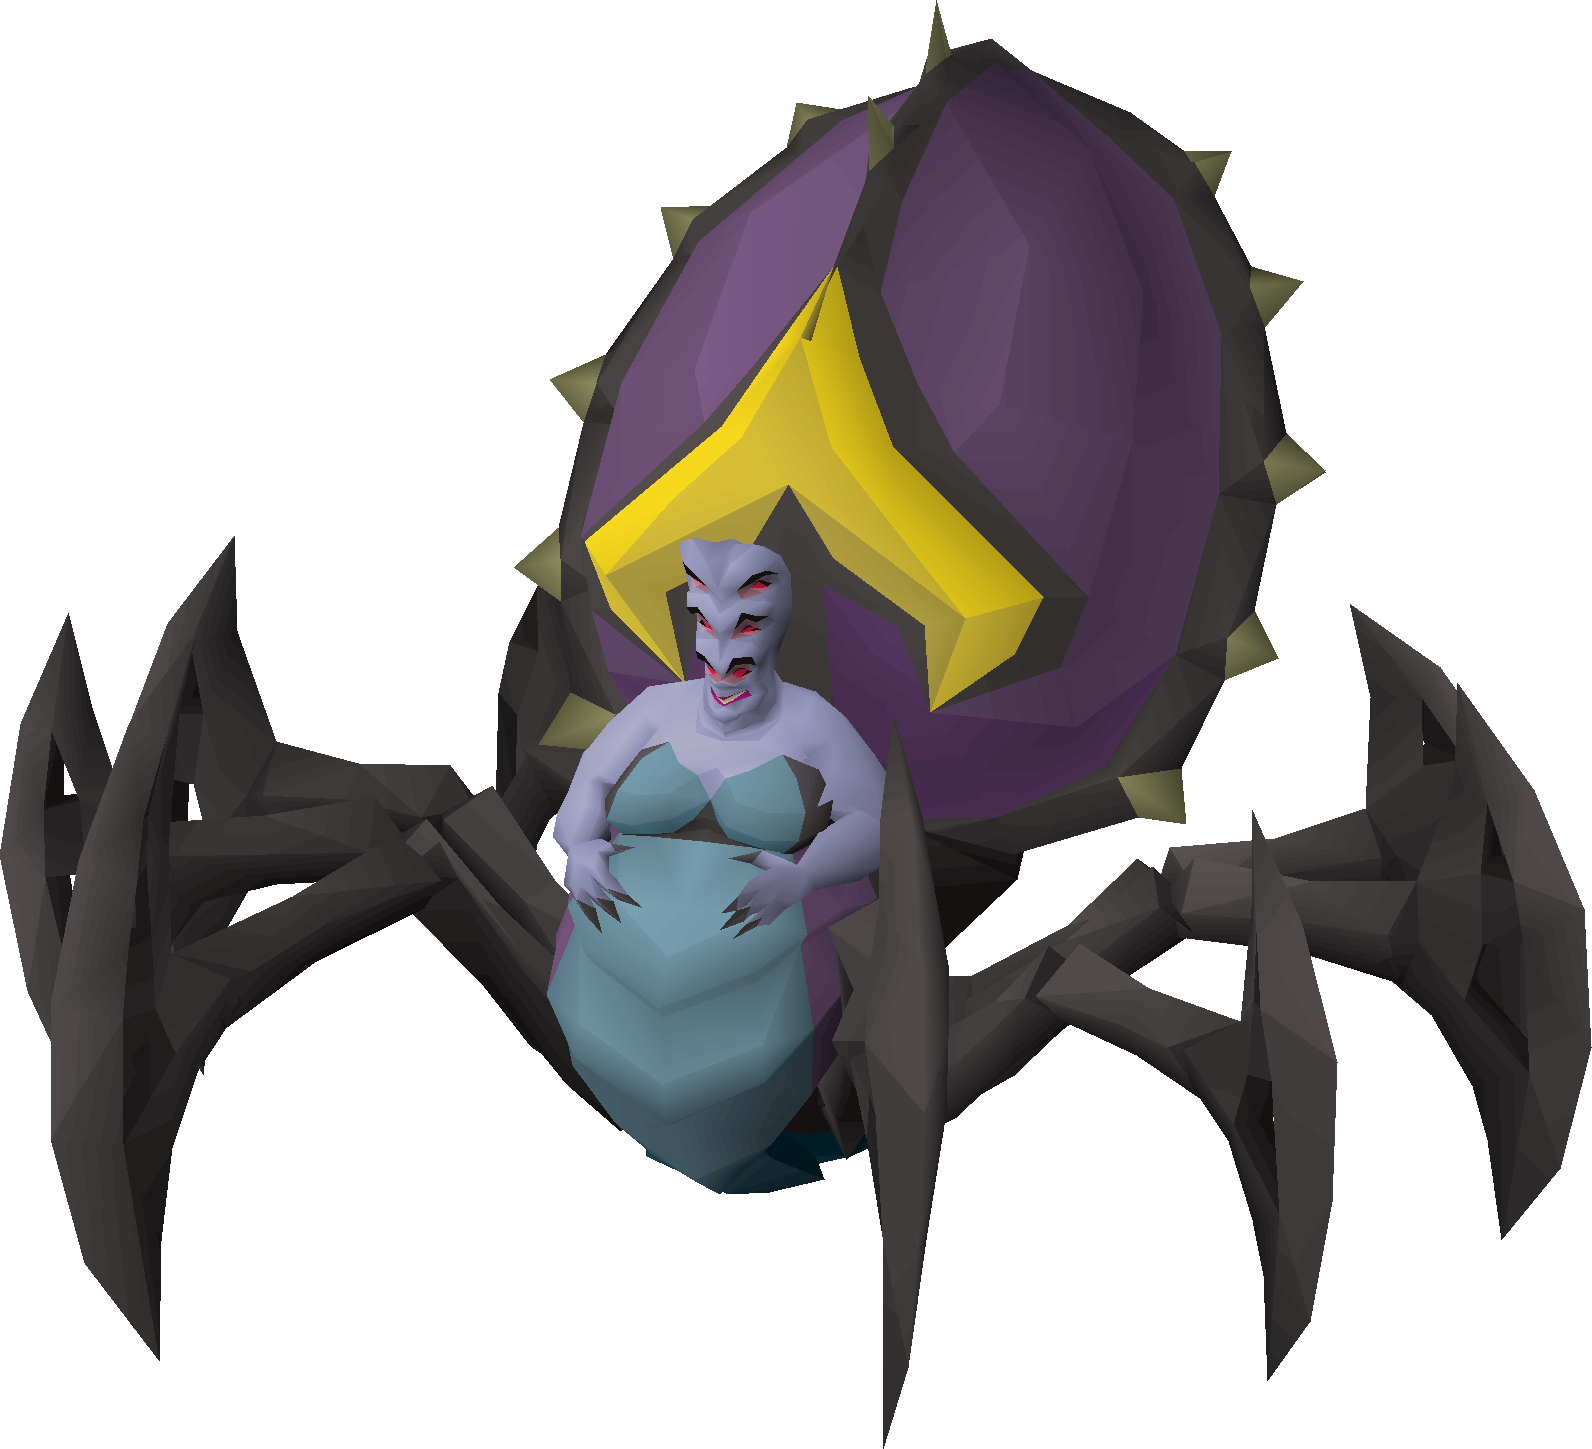
FormatEntry or team raid
ModesEntry, Normal, Hard
AccessVer Sinhaza
Learner pathEntry Mode
Final bossVerzik Vitur
Readiness and requirements
Hard access first, practical targets second
Normal Mode is melee heavy. Strong Attack, Strength, Piety, and a reliable slash weapon matter more than ornamental switches.
Bring Ranged for Nylocas and selected boss phases, plus a compact Magic switch and barrage runes when covering freezes.
Normal Mode expects calls for Maiden freezes, Bloat movement, Nylocas waves, Sotetseg maze, Xarpus turns, and Verzik webs or yellows.
Learn one role deeply before changing every raid. Consistent role execution is more useful than owning an expensive weapon without the timing.
Entry Mode forgives more. Normal and Hard Mode punish deaths and lost supplies, so scale inventory with the team's actual consistency.
Difficulty progression
Move up when execution is stable
Entry Mode
Learn all six encounters with reduced pressure, extra recovery, and room to understand visual and audio cues.
Practice mechanics, not speed.Normal Mode team
Use assigned roles, precise movement, controlled special attacks, and a compact inventory. Individual mistakes affect the full team.
Become reliable in one role, then expand.Hard Mode and speed
Additional mechanics and tighter checks require a team that already clears Normal Mode consistently.
Optimize only after deaths are exceptional.In-depth gear progression
Three viable account and role paths
Low-cost equipment for seeing every room. Elite Void keeps switches small while the player learns movement and calls.
Minimal learner
Complete Entry Mode without risking an expensive setup.
- Melee
- Abyssal whip or tentacle, dragon defender, dragon dagger
- Ranged
- Toxic blowpipe with Ava's device
- Magic
- Trident and a small robe switch; ancient spellbook if freezing
- Armour
- Elite Void or fighter torso with Barrows legs and blessed d'hide switches
- Utility
- Bandos godsword or dragon warhammer if available; rune pouch
Normal-ready basics
Move from Entry practice into learner Normal Mode teams.
- Melee
- Tentacle or blade of saeldor, Bandos, Avernic or dragon defender
- Ranged
- Blowpipe with blessed d'hide or elite Void
- Magic
- Toxic trident with occult and a three-way switch
- Utility
- Dragon warhammer or BGS according to team; chins and barrage runes for Nylocas role
- Special
- Dragon claws, crystal halberd, or dragon dagger depending on budget
Reliable Normal Mode
A balanced setup for repeated team completions before Scythe.
- Melee
- Blade of saeldor or tentacle, Bandos, Avernic, ferocious gloves
- Ranged
- Blowpipe with Masori or blessed d'hide; twisted bow only where assigned
- Magic
- Sanguinesti staff or toxic trident with Virtus
- Utility
- Team defence reduction, barrage or chin role, salve tools only where the route calls for them
- Special
- Dragon claws or Voidwaker; crystal halberd as a lower-cost finisher
Recommended inventory setup
A role-based template, not a rigid screenshot
Normal Mode inventory is role-based. Remove items that do not serve a named room.
- Melee main weapon and special weapon
- Toxic blowpipe and ammunition
- Three to five Magic items when freezing or maging Nylocas
- Rune pouch with barrage runes if assigned
- Chinchompas or fast melee weapon only for a defined Nylocas role
- Defence-reduction weapon only when the team needs your copy
A safe baseline for Entry Mode or an organized Normal learner. Exact quantities change with gear and team consistency.
- 1 super combat potion
- 1 ranging potion
- 1 stamina potion
- 3 to 5 prayer-restoring doses
- 4 to 8 high-healing food slots
- One or two combo-food slots for emergency recovery
- Emergency teleport for Entry Mode practice
Use Theatre supplies to stabilize the team between encounters.
- Do not waste bandages or potions topping off trivial damage
- Share supply pressure with the team instead of hoarding excess
- Enter Verzik with prayer, run energy, and combo healing available
- Keep one recovery plan for webs, yellow pools, or the final enrage
Inventory space is finite. Start with fewer switches and more recovery, then trade supplies for damage only after the raid is consistent.
Room-by-room guide
Mechanic, response, and completion checkpoint
The Maiden of Sugadinti
Spread blood splats, avoid unnecessary infection, reduce defence on schedule, and freeze blood spawns at the assigned positions before they reach Maiden.
Checkpoint: Freezers call misses early and damage roles switch without blocking freeze lines.Pestilent Bloat
Move only while Bloat is walking, use pillars to stay out of sight, avoid falling hands, and commit damage during safe down windows.
Checkpoint: The team reaches its stopping point before Bloat turns the corner.Nylocas
Match melee, Ranged, and Magic styles to colours, protect pillars, follow wave positions, and switch prayers with the boss's current style.
Checkpoint: Hit assigned targets quickly rather than chasing another player's side.Sotetseg
Protect from the visible style, stack or spread correctly for projectiles, follow the chosen player through the shadow maze, and keep the team together on re-entry.
Checkpoint: Maze calls are calm, short, and never guessed by followers.Xarpus
Place exhumed pools cleanly, stand in assigned sectors, and turn away when Xarpus looks toward you during the final phase.
Checkpoint: Every player owns a sector and stops attacking during the stare.Verzik phase 1
Use pillars as protection, attack on the team rhythm, and step away before the pillar collapses. Do not strand the team without cover.
Checkpoint: Pillar order and attack count are agreed before the first hit.Verzik phase 2
Bounce correctly, avoid electric attacks and poison, control red crabs, and keep enough spacing that one error does not chain through the team.
Checkpoint: Movement stays rhythmic even when damage is low.Verzik phase 3
Handle webs, yellow pools, green ball sharing, tornadoes, and enrage while maintaining correct prayer and melee timing.
Checkpoint: Survival mechanics take priority over finishing one more Scythe or whip swing.Learning route
A repeatable way to progress
Clear Entry Mode
Repeat it until every room cue is recognizable and Verzik phase changes no longer feel surprising.
Choose one Normal role
Freeze, Nylocas, melee damage, or ranged support. Bring only the gear that serves that role.
Learn team timing
Theatre rewards shared rhythm at Bloat, Sotetseg, Xarpus, and Verzik more than isolated damage.
Track supplies by room
Know which encounter consumes food, prayer, or run energy and fix that room before adding gear.
Graduate deliberately
Move to Hard Mode or speed strategies only when Normal Mode clears are routine and recoverable.
Team and role paths
Decide responsibility before the raid starts
Maintain boss timing, use defence reduction or damage specials as called, and avoid trading attacks for movement errors.
Own Maiden blood spawns and assigned Nylocas waves. Accuracy, timing, and clear miss calls define the role.
Cover Nylocas, Maiden spawns, and assigned boss phases without wasting blowpipe or chinchompa attacks.
Keep calls brief for Bloat stop points, Sotetseg maze, Xarpus turns, and Verzik mechanics.
Upgrade order
Major breakpoints before luxury switches
Tentacle and core prayers
A reliable slash weapon plus Piety, Rigour, and Augury supports every learner role.
Defence reduction and special
Make sure the team utility exists before buying a personal damage special.
Scythe rebuild
Scythe is the defining melee upgrade, but its value appears only when room timing and charges are sustainable.
Role-specific range and Magic
Improve freeze accuracy, Nylocas tools, Twisted bow, or Shadow according to the role you repeatedly fill.
Common progression mistakes
Execution before extra cost
Using Normal Mode as the first place to learn basic room cues.
Bringing switches with no named purpose and losing all food space.
Attacking through Bloat turns, Xarpus stares, or Verzik movement checks.
Failing to call a missed freeze, maze uncertainty, or supply problem early.
Buying Scythe before the player can maintain the room rhythm that makes it valuable.
Continue exploringCompare all three raid progressions
Open raid guides